There is something deeply satisfying about walking out your back door, picking a ripe tomato still warm from the sun, and eating it minutes later. Growing your own food connects you to something ancient and essential — the act of nurturing life from a tiny seed and watching it become nourishment for your family. Yet for so many people, starting a vegetable garden at home feels intimidating. Where do you begin? What do you plant? How do you keep everything alive?
The truth is, growing vegetables at home is far more approachable than most beginners expect. You do not need a sprawling plot of land, expensive equipment, or years of horticultural training. What you need is reliable information, a little patience, and the willingness to get your hands in the soil. This guide walks you through every step — from choosing your first growing spot to harvesting fresh produce all year long — so that you can build a thriving home vegetable garden with confidence, regardless of your experience level.
Whether you are starting with a small raised bed in a suburban backyard, a collection of containers on an apartment balcony, or a modest patch of ground in a sunny corner of your yard, the principles are the same. Understand your space, feed your soil, choose the right plants, and stay consistent. Everything else follows naturally from there.
Understanding What Your Vegetable Garden Needs
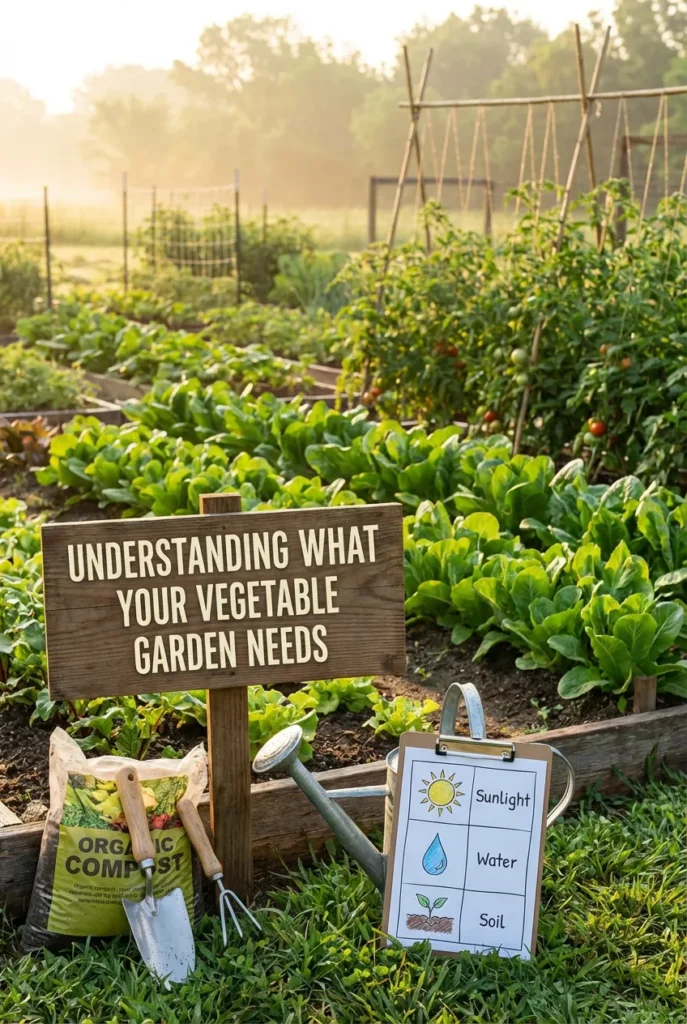
Before you buy a single seed packet or drive to the garden center, take a step back and observe your outdoor space carefully. The single most important factor in vegetable gardening success is sunlight. Most vegetables — particularly fruiting crops like tomatoes, cucumbers, peppers, zucchini, and beans — require a minimum of six to eight hours of direct sunlight per day to grow, flower, and produce food. Less than that, and your plants will survive but struggle to reach their productive potential.
Spend a day watching how sunlight moves across your backyard. Note where the sun hits earliest in the morning, which areas receive the most intense afternoon light, and where shade from trees, fences, or the house itself creates cooler, darker spots. The sunniest area of your yard is almost always your best starting point for a vegetable garden.
Alongside sunlight, water access matters enormously. Your vegetable garden should be within easy reach of a hose or outdoor tap. Vegetables are thirsty plants, particularly during the heat of summer, and having to carry water long distances quickly becomes a deterrent that leads to inconsistent watering and struggling plants. Position your garden close to a water source from the very beginning and you will remove one of the most common barriers to ongoing garden success.
Air circulation is another factor many beginners overlook. While you want protection from harsh, drying winds, some airflow is essential. Good air movement around vegetable plants reduces the humidity that encourages fungal diseases like powdery mildew and blight. Avoid planting in tightly enclosed spots with no airflow, and give your plants appropriate spacing within the garden bed itself.
Finally, consider proximity to your kitchen. Studies in home food production consistently show that people are more likely to use what they grow when the garden is convenient and visible. A vegetable patch right outside the kitchen door or within easy view from a window gets tended more often, harvested more regularly, and appreciated more deeply than one tucked out of sight at the back of the property.
Choosing the Right Garden Style for Your Space
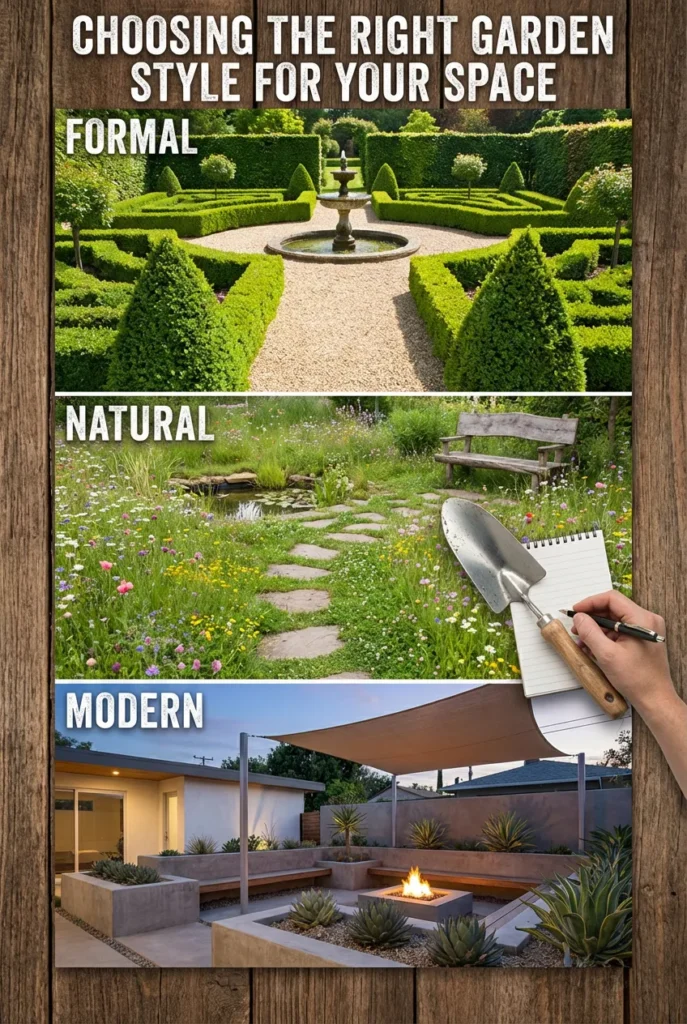
Once you have identified where your vegetable garden will live, it is time to decide how you will set it up. The three most common approaches for beginner home vegetable gardeners are in-ground beds, raised beds, and container gardens. Each has distinct advantages, and many home gardeners ultimately use a combination of all three.
In-ground gardening is the most traditional approach. You work directly with the existing soil in your yard, amending and improving it over time. The main advantage is cost — you are using what you already have. The challenge is that many suburban and urban yards have poor-quality soil: compacted, clay-heavy, nutrient-depleted, or contaminated. If your yard’s native soil is workable, in-ground gardening is a perfectly valid starting point. If not, you will need to invest significant effort in soil improvement before planting.
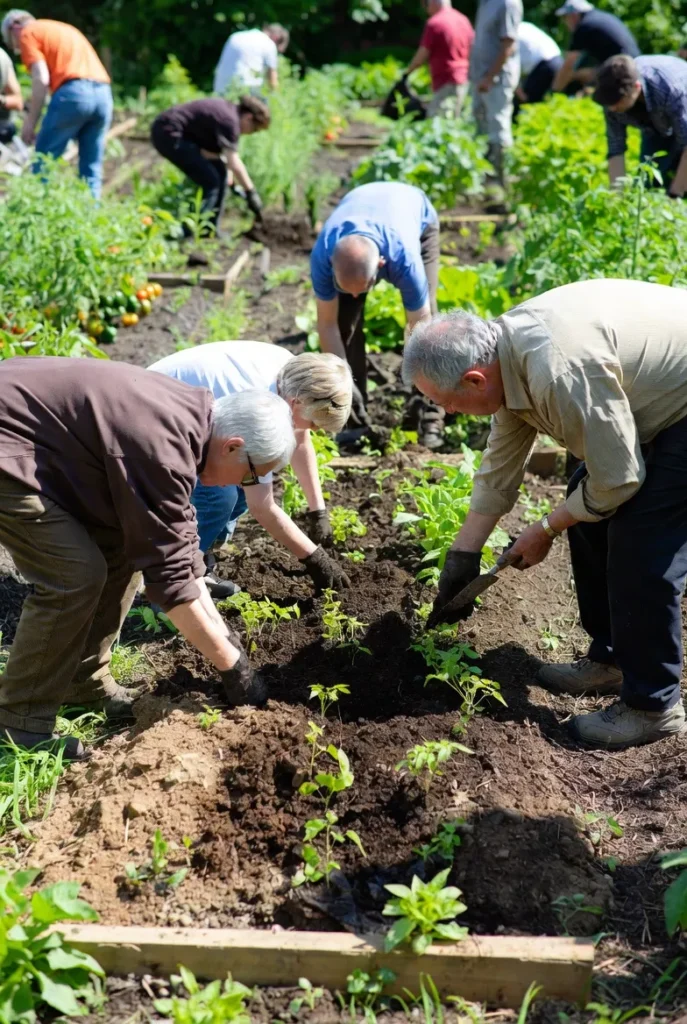
Raised garden beds are the preferred starting point for the vast majority of beginners, and for good reason. By building a frame — typically from cedar wood, galvanized metal, or recycled lumber — and filling it with a carefully selected growing mix, you create ideal soil conditions from day one. Raised beds drain well, warm up faster in spring, and are far easier to maintain than ground-level plots. They also keep pests like slugs and burrowing animals somewhat at bay and make it easy to implement crop rotation between seasons.
A standard raised bed for beginners is four feet wide and eight feet long, with sides at least twelve inches deep. The four-foot width is deliberate — it allows you to reach the center of the bed from either side without ever stepping on the soil, which preserves its loose, aerated structure. Fill your raised bed with a mix of roughly sixty percent quality topsoil, thirty percent compost, and ten percent perlite or coarse sand for drainage.
Container gardening is the most flexible approach and the perfect solution if you have no ground space at all. Large containers — five gallon pots at minimum, with ten to twenty gallon pots being even better — can support an impressive variety of vegetables including tomatoes, peppers, lettuce, herbs, beans, and even compact cucumber varieties. The critical requirements for container vegetable growing are adequate pot size, proper drainage holes, high-quality potting mix (never garden soil, which compacts in containers), and more frequent watering since containers dry out faster than ground beds.
Building the Foundation: Soil Is Everything

If there is one truth that experienced vegetable gardeners will tell you above all others, it is this: healthy soil grows healthy plants. Vegetables are heavy feeders — they demand nutrient-rich, well-structured soil to produce the kind of abundant harvests that make home growing worthwhile. Skimping on soil preparation is the most common mistake beginners make, and the consequences show up throughout the entire growing season in the form of weak, slow, unproductive plants.
Good vegetable garden soil has several key characteristics. It is loose and friable, meaning it crumbles easily in your hand and does not compact into hard clods. It drains well enough that water moves through it without pooling, but retains enough moisture that roots are not constantly stressed between waterings. It is rich in organic matter — decomposed plant and animal material that feeds the complex ecosystem of microorganisms, earthworms, and beneficial fungi that in turn feed your plants. And it has a slightly acidic to neutral pH, ideally between six and seven, which is the range in which most vegetables can absorb the nutrients available in the soil.
The best way to build and maintain this kind of soil is through consistent addition of compost. Compost is decomposed organic matter — kitchen scraps, garden waste, fallen leaves — that has broken down into a dark, crumbly material that dramatically improves any soil it is mixed into. Starting a compost pile alongside your vegetable garden is one of the smartest moves a beginner can make. It transforms kitchen waste into garden gold, reduces what you send to landfill, and gives you a continuous supply of free soil amendment.
If you are not composting yet, purchase bags of high-quality compost from a garden center and work it generously into your soil before planting. For a new raised bed, compost should make up roughly a third of your total growing mix. For an existing in-ground bed, apply two to four inches of compost across the surface and dig or fork it into the top eight to twelve inches of soil.
Before planting in a new garden space, it is worth testing your soil’s pH and basic nutrient levels. Inexpensive test kits are available at most garden centers and give you a clear picture of what your soil needs. If your pH is too low, garden lime raises it. If it is too high, sulfur lowers it. If specific nutrients are lacking, targeted organic fertilizers address the deficiency precisely.
Planning What to Grow for Year-Round Harvests
One of the most exciting — and occasionally overwhelming — parts of starting a home vegetable garden is deciding what to grow. Seed catalogs and garden center displays are filled with hundreds of enticing options, and the temptation to try everything at once is real. For beginners, restraint and strategic planning pay far greater dividends than ambition.
The concept of growing fresh produce all year is achievable in most climates, but it requires understanding your growing seasons and choosing crops accordingly. Broadly speaking, vegetables fall into two seasonal categories: cool-season crops and warm-season crops.
Cool-season crops thrive in the mild temperatures of spring and autumn. They can handle light frost and actually develop better flavor when grown in cool conditions. Lettuce, spinach, kale, arugula, Swiss chard, peas, broccoli, cauliflower, cabbage, radishes, and carrots all belong in this category. In mild climates, many cool-season crops can even be grown through winter with minimal protection. These are your spring and autumn staples, and they allow you to be harvesting fresh food from the garden long before and after the main summer season.
Warm-season crops need consistently warm soil and air temperatures to germinate, grow, and produce. They are damaged or killed by frost and must not go into the ground until temperatures have reliably settled. Tomatoes, peppers, cucumbers, zucchini, squash, beans, corn, and basil are all warm-season crops. These form the heart of the summer garden and produce their most abundant harvests through the hottest months.
By combining both cool-season and warm-season growing, you extend your harvest window dramatically. A spring planting of peas, lettuce, and radishes gives you fresh food in April and May. Warm-season crops planted in late spring carry the harvest through summer and into early autumn. A second sowing of cool-season greens in late summer fills the gap from September through November and beyond in mild climates. With a simple cold frame, row cover, or small unheated greenhouse, even gardeners in colder climates can push this season into the winter months.
For your very first vegetable garden, focus on crops that are rewarding for beginners. Cherry tomatoes are among the easiest and most productive vegetables a beginner can grow — they are forgiving, prolific, and the joy of picking a handful of warm, sweet tomatoes from your own plant never gets old. Zucchini is legendary for its productivity, occasionally to an overwhelming degree. Lettuce and salad greens grow fast, can be harvested repeatedly by cutting leaves rather than the whole plant, and are endlessly useful in the kitchen. Green beans, both bush varieties and climbing pole types, germinate reliably, grow vigorously, and produce abundantly. Radishes offer the particular pleasure of being harvestable in as little as three weeks from sowing — perfect for impatient first-time growers who want immediate results.
Starting Seeds Versus Buying Transplants

As you plan your garden, you will face a practical decision for each crop: do you start from seed or purchase young plants (transplants) from a garden center? Both approaches have their place, and understanding the trade-offs helps you make the right choice for each vegetable.
Starting from seed is more economical — a single seed packet costing a few dollars contains far more plants than you would typically buy as transplants for the same money. Starting from seed also gives you access to a vastly wider range of varieties than are typically available as transplants at garden centers. Heirloom tomatoes in extraordinary colors, unusual bean varieties, specialty salad greens, and heritage cucumbers are all more accessible through seed than through retail transplants.
The challenge with seed starting is timing and setup. Many warm-season crops like tomatoes and peppers need to be started indoors six to eight weeks before the last frost date in your area, in a warm location under adequate light. If you start too late, your transplants go into the garden behind schedule. If you start too early without enough light, seedlings become leggy and weak. Getting seed starting right requires attention, a reliable light source, and some trial and error.
For beginners, a practical approach is to start easy crops directly from seed in the garden — including beans, peas, lettuce, radishes, carrots, beets, and zucchini — while purchasing transplants of crops that benefit from an early head start, particularly tomatoes, peppers, and cucumbers. This hybrid approach keeps things manageable while still giving you the satisfaction of direct sowing.
When buying transplants, look for short, stocky plants with deep green leaves rather than tall, leggy specimens. Avoid plants already in flower or with visible roots growing out of the drainage holes — these are stressed or overgrown plants that will struggle to establish. Healthy, compact transplants settle into the garden quickly and often outperform larger stressed plants within just a few weeks.
Planting Day: Getting Your Vegetables into the Ground
With your growing space prepared and your plants or seeds ready, planting day is one of the most exciting moments in the vegetable gardening year. A few key principles make all the difference between plants that thrive and plants that struggle.
Timing is everything. Cool-season crops can go into the ground as soon as your soil can be worked in early spring — typically a few weeks before your last expected frost date. Warm-season crops must wait until both soil and air temperatures have warmed sufficiently. Soil temperature is critical for germination and root development; most warm-season vegetables need soil temperatures of at least sixty degrees Fahrenheit before planting. Planting too early in cold soil is one of the most common beginner mistakes. Seeds planted in cold soil rot rather than germinate, and transplants planted into cold soil become stressed and stall, sometimes for weeks.
Spacing is another area where beginners frequently err on the side of planting too closely. It seems logical to fit in as many plants as possible, but overcrowded vegetables compete intensely for water, nutrients, and light — and the result is smaller, less productive plants more vulnerable to disease. Always follow the spacing recommendations on seed packets or plant labels, even when young plants seem impossibly small for the space given.
When transplanting seedlings from pots into the garden, plant at the same depth they were growing in their container, with one important exception: tomatoes can and should be planted much deeper than they were in their pots, with the lower leaves removed and the stem buried. Tomatoes develop roots all along their buried stem, creating a significantly more robust root system.
After planting, water thoroughly to settle the soil around roots and eliminate air pockets. Apply a layer of organic mulch — straw, wood chips, or shredded leaves — around your plants, keeping it a few inches away from stems. This single step significantly reduces watering needs, suppresses competing weeds, and keeps soil temperatures stable.
Watering Wisely Throughout the Season
Water is life in the vegetable garden, but how and when you water matters as much as how much you water. Inconsistent watering — flooding plants one week and neglecting them the next — is a primary cause of problems including blossom end rot in tomatoes, bitter cucumbers, bolting lettuce, and split root vegetables like carrots.
Most vegetable gardens need approximately one inch of water per week from rain or irrigation. During hot, dry spells, this requirement increases. During cool, overcast periods, it decreases. Rather than watering on a rigid schedule, learn to read your plants and your soil. Press a finger two inches into the soil beside a plant — if it feels dry at that depth, it is time to water. If it still feels moist, wait another day.
When you do water, water deeply and less frequently rather than shallowly and often. Shallow, frequent watering encourages roots to stay near the soil surface, making plants more vulnerable to drought stress. Deep, infrequent watering encourages roots to grow downward in search of moisture, creating more resilient, drought-tolerant plants.
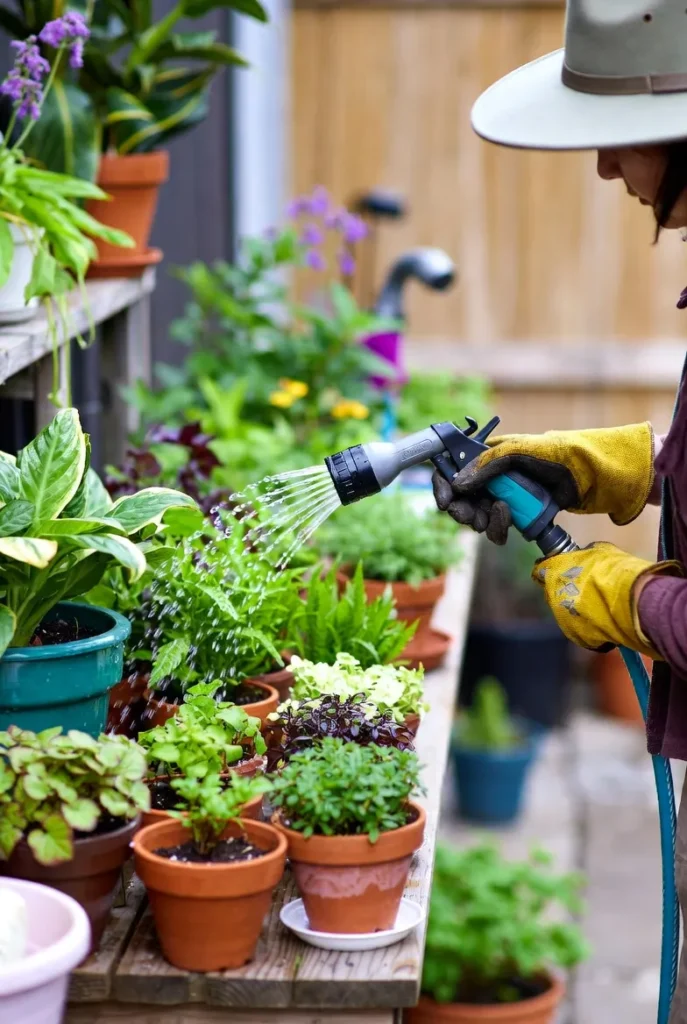
Water at the base of plants rather than overhead whenever possible. Wet foliage, particularly when moisture sits on leaves overnight, creates the conditions that fungal diseases thrive in. Soaker hoses and drip irrigation systems are the gold standard for vegetable gardens because they deliver water directly to the root zone while keeping foliage dry. They also reduce water waste significantly compared to overhead sprinklers.
Morning watering is ideal for any garden. Watering in the morning gives foliage time to dry during the day, reducing disease risk. It also ensures that plants have adequate moisture going into the hottest part of the day when transpiration rates are highest.
Feeding Your Vegetables for Maximum Productivity
Healthy soil gives your vegetables a strong foundation, but actively growing, fruiting plants benefit from supplemental feeding throughout the growing season. Vegetables are nutritionally demanding — particularly heavy feeders like tomatoes, squash, and brassicas — and regular fertilizing supports the robust growth and abundant harvests you are aiming for.
Organic fertilizers are generally preferred in food gardens because they feed soil life as well as plants, improving soil health over time rather than simply providing a chemical hit that plants consume directly. Compost tea, fish emulsion, seaweed extract, worm castings, and balanced granular organic fertilizers are all excellent choices for the vegetable garden.
Begin feeding your plants approximately two to three weeks after transplanting or after seedlings have developed their first true leaves. A balanced fertilizer with roughly equal proportions of nitrogen, phosphorus, and potassium supports overall healthy growth during the early vegetative stage. Once plants begin to flower and fruit, shift to a fertilizer with lower nitrogen and higher phosphorus and potassium, which supports flower formation, fruit development, and root strength rather than excessive leafy growth.
Tomatoes deserve particular attention when it comes to feeding. They are heavy feeders that benefit from regular fertilization throughout the season, and they are also prone to calcium deficiency — a condition that manifests as blossom end rot, a dark, sunken patch on the bottom of developing fruit. Consistent, even watering and occasional applications of calcium-rich organic amendments address this common problem effectively.
Managing Pests and Diseases Naturally

Every vegetable garden encounters pests and diseases. This is simply part of growing food, and approaching it with calm, practical problem-solving rather than alarm makes all the difference. Most garden pest problems, when caught early, are entirely manageable without resorting to chemical pesticides.
Your first line of defense is observation. Walk through your vegetable garden regularly — ideally every day or two — and look closely at plants from all angles, including the undersides of leaves where many pests hide and feed. The earlier you spot a problem, the easier it is to address.
Aphids are among the most common garden pests. These tiny soft-bodied insects cluster on new growth and the undersides of leaves, sucking sap and causing distorted, sticky foliage. A strong blast of water from a hose dislodges most aphid colonies effectively. Insecticidal soap spray — made by diluting a small amount of pure castile soap in water — kills aphids on contact and is safe for use on food crops.
Caterpillars, slugs, and snails are controlled by hand-picking, copper tape barriers, or iron phosphate slug bait, which is non-toxic to pets and wildlife. Row covers — lightweight fabric draped over crops — physically exclude flying insects like aphids, whitefly, and cabbage moths while allowing light and rain to penetrate.
Fungal diseases like powdery mildew and blight are most effectively prevented through good garden hygiene: adequate plant spacing for airflow, consistent watering at the base rather than overhead, removal and disposal of diseased plant material, and crop rotation between seasons.
Crop rotation — growing different plant families in different areas of the garden each year — is one of the most powerful disease prevention strategies available. Many soil-borne diseases build up in the soil when the same plant family is grown in the same spot year after year. Rotating crops breaks this cycle and keeps your soil healthy over the long term.
Harvesting at the Right Time for the Best Flavor
All the care you have invested in your vegetable garden pays off at harvest time. But knowing when to pick is a skill in itself, and harvesting at the right moment makes the difference between vegetables that are mediocre and vegetables that are extraordinary.
The general principle is to harvest most vegetables slightly earlier than you think necessary. Vegetables left on the plant past their peak often become tough, bitter, seedy, or mealy. More importantly, a plant that has its fruit harvested regularly responds by producing more flowers and more fruit. Leaving a zucchini to grow into a giant club on the plant, for instance, signals the plant to stop producing new fruit. Keeping zucchini picked at a modest size keeps the plant productive for months.
Tomatoes are at their peak when they are fully colored and yield slightly to gentle pressure. Cherry tomatoes can be pulled from the vine at full color, while larger varieties should be left to develop their full depth of color and flavor before picking. Beans are best harvested when pods are firm and filled but before the seeds inside become noticeably bumpy. Lettuce leaves can be harvested individually from the outside of the plant for a cut-and-come-again harvest that extends productivity for weeks.
Root vegetables like carrots and beets are ready when shoulders begin pushing up through the soil surface. They can be left in the ground for some time after reaching maturity — the soil acts as a natural cold store — but prolonged delay can lead to woodiness or cracking in some varieties.
One of the most important habits you can develop in the vegetable garden is consistent harvesting. Visit your garden every day or two during peak season, harvest what is ready, and keep an eye on what is approaching readiness. This rhythm not only maximizes your yields but keeps you deeply connected to the garden and genuinely excited about what it is producing.
Saving Seeds and Planning for Next Season
As your first vegetable gardening season winds down, you have an opportunity to deepen your practice in a way that connects you to centuries of agricultural tradition: saving seeds. Saving seeds from your best-performing open-pollinated or heirloom vegetables allows you to grow the same varieties year after year, gradually selecting for characteristics that thrive in your specific garden conditions.
Seeds are best saved from healthy, vigorous plants that have shown the traits you most value — excellent flavor, disease resistance, early production, or exceptional yield. Allow fruits designated for seed saving to ripen fully on the plant — well beyond the stage at which you would normally harvest for eating. Collect seeds, allow them to dry completely in a cool, airy spot away from direct sunlight, then store in labeled paper envelopes in a cool, dark, dry location.
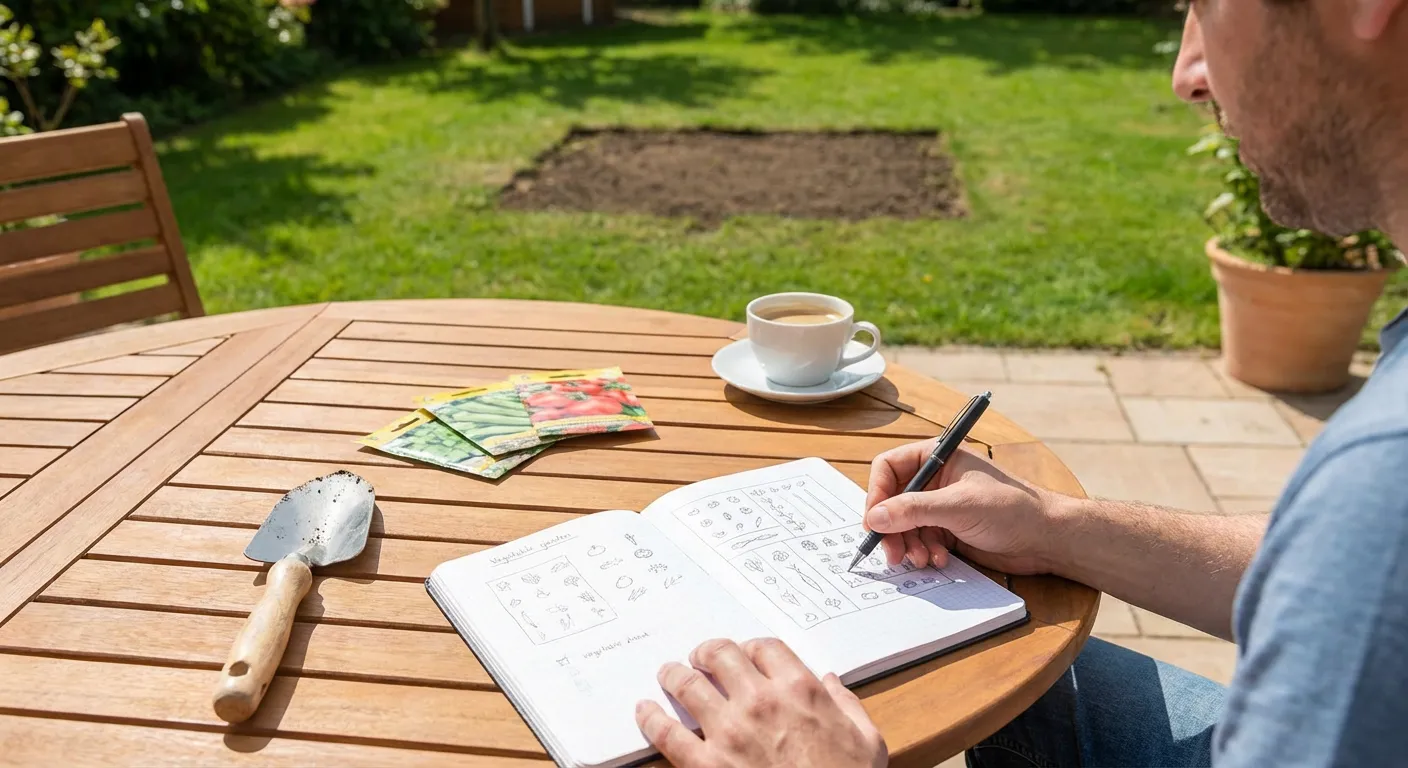
As one season ends, take notes and make plans for the next. What worked brilliantly? What struggled or failed to produce? Which varieties earned their space and which did not? A simple garden journal — recording what you planted, where, when, and how it performed — becomes an invaluable resource that makes each successive season more successful than the last.
Consider what you can do over winter or between seasons to improve your garden for the next growing year. Top-dress beds with compost. Add organic matter to areas where soil needs improvement. Research new varieties you want to try. Design crop rotation plans. Visit local gardening events or connect with gardening communities in your area.
The vegetable garden is a teacher that never runs out of lessons. Every season brings new challenges, new discoveries, and new rewards. The beginner who starts with a single raised bed and a packet of tomato seeds often finds, within just a few years, that they have developed a genuinely sophisticated understanding of soil, plants, seasons, and ecosystems — knowledge that cannot be learned from books alone but only by growing, observing, and paying attention season after season.
Your home vegetable garden will feed your family, nourish your connection to the natural world, and reward every hour of care you invest in it many times over. Start wherever you are, with whatever space you have. The first harvest — however modest — will make everything worthwhile.